BACK to How to Assemble K-D Storm Sash
Laying out Sash Components and Putting Together Sash
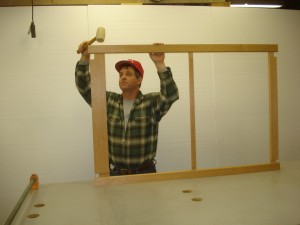
1- Parts Set Out - 2- Put on Rails- 3- Drive Rails In with Mallet- 4- Put on Second Stile- 5- Drive Stile on with Mallet
1- The stiles and rails are laid out on the table in their respective locations with their outside (glass rabbet) faces up. Each piece should have a red or blue reference mark showing, with the marks pointing toward the glass edges.
2- Turn one stile up on edge, and insert the tenon of each rail into its respective mortise. BE CAREFUL TO MAINTAIN PROPER ORIENTATION OF STILE AND RAILS.
3- Using a rubber mallet, drive each rail in about a third of the way.
4- Put the other stile on, engaging each tenon with its respective mortise.
5- With the Rubber Mallet, drive the stile on each tenon a little at a time until it is engaged about 1/2" to 1" on each tenon.
6- The sash is now ready to be clamped up.
Click on images below to view at larger size.


